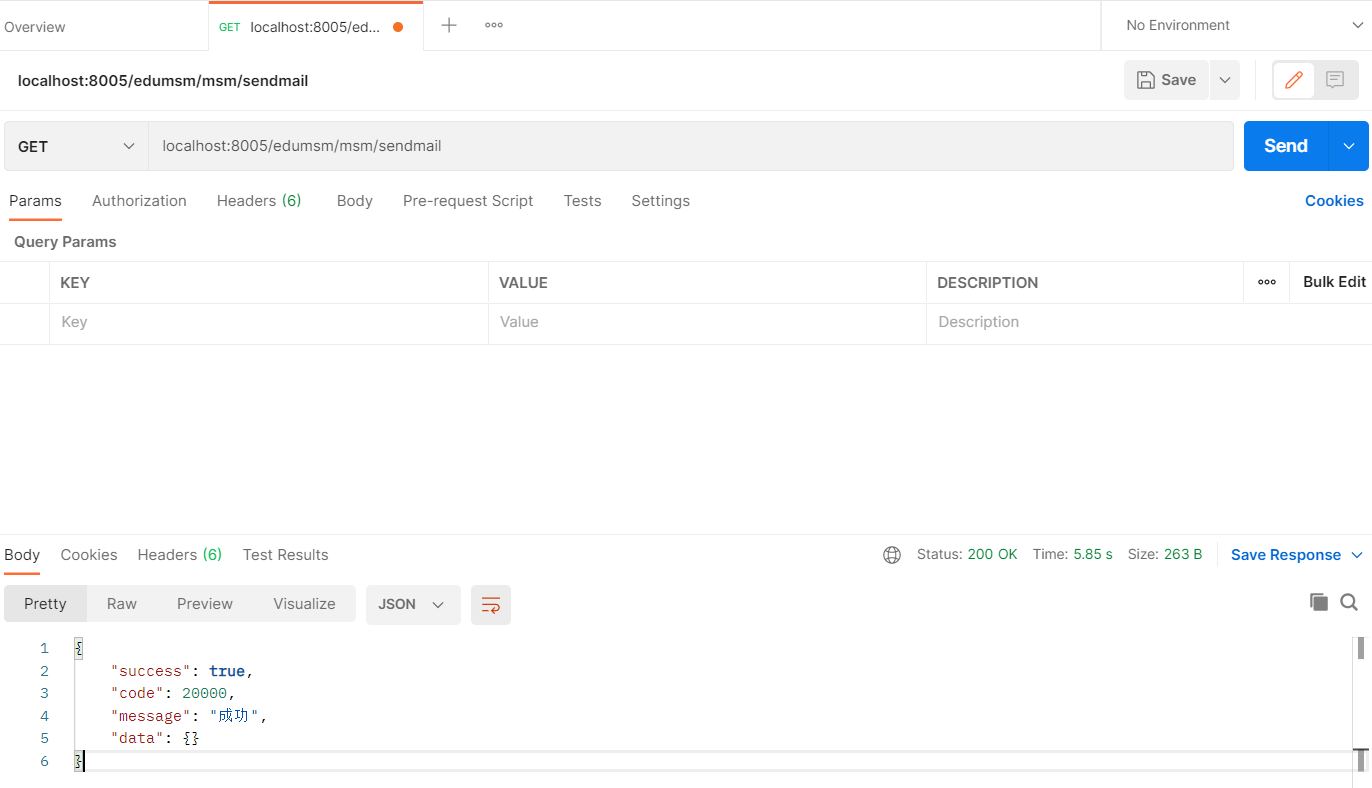
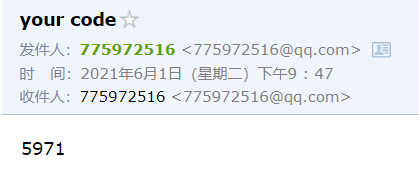
由于阿里云短信发送服务审核过严,故将其替换为邮件发送验证码,记录一下整合邮件发送服务过程
首先去qq邮箱开通SMTP服务,并生成授权码

然后去项目中整合邮件发送服务
目前只是简单实现了功能,之后若有更多要求,再行更改
pom依赖
<dependency>
    <groupId>org.springframework.boot</groupId>
    <artifactId>spring-boot-starter-mail</artifactId>
</dependency>
application.properties配置
spring.mail.host=smtp.qq.com
spring.mail.protocol=smtp
spring.mail.default-encoding=utf-8
spring.mail.username=775972516@qq.com
# 这个是授权码,不是邮箱密码!!!
spring.mail.password=xxxxxx
Controller
@RestController
@RequestMapping("/edumsm/msm")
@CrossOrigin
public class MsmController {
    @Autowired
    private MsmService msmService;

    @GetMapping("/sendmail")
    public R sendMail(){
        String code = null;
        code = RandomUtil.getFourBitRandom();

        Boolean result = msmService.sendMail(code);
        if (result){
            return R.ok();
        }else {
            return R.error().message("发送邮件失败");
        }
    }
}
Service
@Service
public class MsmServiceImpl implements MsmService {
    @Autowired
    private JavaMailSender mailSender;

    @Value("${spring.mail.username}")
    private String from;

    @Override
    public Boolean sendMail(String code) {
        SimpleMailMessage message = new SimpleMailMessage();

        //自己给自己发验证码邮件
        message.setFrom(from);
        message.setSubject("your code");
        message.setText(code);
        message.setTo(from);

        mailSender.send(message);

        return true;
    }
}
效果


- Post link: http://example.com/2021/06/01/SpringCloud%E5%AE%9E%E7%8E%B0%E9%82%AE%E4%BB%B6%E5%8F%91%E9%80%81/
- Copyright Notice: All articles in this blog are licensed under unless otherwise stated.